Slave horde strip

Slave horde strip
Showing posts with label Painting. Show all posts

Saturday, 28 May 2011

Men of Minas Tirith - Revamped from the Dust

   Hey guys, a few months ago (back in September), I picked up a second hand GW case with some LotR minis in it.  I decided to get to work at revamping the 'splodgy n'dodgy' paint job that was done on them. All I simply did was washed the armour with some black paint, overbrushed some Mithril Silver, and really just block coloured on the black, gold, skin, and brown. Took me no longer than half an hour!


Comparison of old and new paint jobs


   And, last of all, today I'm going down to my local (ish) shopping centre, so I'm gonna be picking up some WW2 28mm tamiya models, and a fine cast mini or two, so I'll give you the run down on Citadel Finecast very soon!

Monday, 28 March 2011

Savage Orc Boyz

   Sorry it's been a while - been busy. The american paras are nearly painted now, and I've been getting back into D&D again (since last September-October). I've also been real into the Orcs and Gobbos, with my O.G.Re project. I picked up a box of the new savage orc boyz and painted three of them up. I went to town on these bearing in mind that they were infantry, and I suppose the other 7 will hit hard! For the skin, I basecoated goblin green, washed them in watered down (and with a drop of washing up liquid to keep surface tension, allowing a more even coverage) dark angels green, and then layered on a 4:1 mix of goblin green to sunburst yellow. By the way, adding white to green simply pales it up, add yellow and then introduce white on the higher layers if you want a zany green! A great kit - and fun to paint - !


Tuesday, 15 March 2011

One Tip to Change your Hobby - Physical Metal

     Here lies one of the biggest tips to rule them all. So big that it is in fact staring you in the face - why paint metal on a model made of the actual stuff? Yes - I'm talking about using the metal of the model, rather than paint it. Don't spray up your mini - you can base coat him later. To do this just take a piece of fine sandpaper/wet wet n' dry, and abrade the surfaces of your model which are meant to be metal 'till they are relatively flat. Then get an object like my trusty 'metal-ended' pen (it can be anything with an edged - not sharp - hard metal surface) and scrape in any direction. You should notice a magnificent polished finish is appearing on your metal model, like a superbly polished armour plate. Just water right down some black paint and wash it into the recesses of the to represent metal parts of your model. When it is half dry, rub your finger in the direction that is not against the recesses, once, on the washed areas - to naturally highlight and remove wash from the higher points of the model. You can glaze it to dull it up/colour it if you want from here, but otherwise - it's done! Very simple, time saving, and as real as the real thing!

I tried it out on an Uruk-Hai - a bit shiny for one, but never the less a great test piece. Came out awesome first time!

Anything like this will do! - Use any metal bit for different tasks!

Thursday, 3 March 2011

Project O.G.R.E. - Orcs and Goblins Revamp:

       Hey guys, so, it's project OGRe, which is going to be a venture into the revival of my Orcs and Gobbos army. I started it just over 3 years ago, and was my second army, after Lizardmen, if you consider me not taking the Skull Pass minis as an army, just a start into the hobby and game, which is how I saw it, having had them before my Lizardmen. Of course, this army had alot to be desired, for instance, not a single regiment of Orc Boyz, different bases, only some highlights with drybrushing, and not being able to paint a metal model without the paint chipping, nor getting bright colours bright enough. Not leaving my WW2 models being, i will be starting the revamping of this army. It will include adding extra highlights, washes, all bases the same, repainting some models, and some adding to this army...


            Which brings us to this orc boy project. I have had many orcs, which have been left to eat dust, in multiple pieces! Many second hand orc boyz (hell whoever owned them should never be allowed to keep his genitalia) and some from Black Reach (I never took to Orks), will be repainted/painted, fixed, and even converted from 40k to fantasy orcs (cut off the gun and add a shield for Choppa Boyz). I am making a start, and have 8 done:


Wednesday, 2 March 2011

D-Day Board Complete! + WW2 Infantry Painted! + Sneak Peeks of What's to Come...

    So, I've been working on some WW2 stuff lately, with exceptions, such as Project OGRe (all will be revealed tomorrow!), and Ugluk, from LOTR. The D-Day gaming board is complete, with painted sand beaches (use Dulux paint, great matte priming finish, plus you've got paint to waste, prime models and boards with it). Later in the weeks an store will open, in which you can purchase my 'Never Surrender' WW2 skirmish rules set, which will be free, however, they will be simpler, and the paid version will come with colour pictures, and a Nazi Zombies rule set! The D-Day board also had some grass mat glued on top. The minis were painted in groups of five in around an hour and a half using washes, so that was good - a painting tutorial will be coming!


                        And above two rather improvised pics of my second trial of the Never Surrender ruleset

Tuesday, 1 March 2011

Miniature Photography

      Got the problem fixed! Right, me and my cousin - Alex Evans/Marsiblu, took some shots of minis/wargaming related things, trying to get crisp shots (my camera can zoom into previously taken photos, uncovering otherwise invisible details without pixelising), and experimenting with close aperture (crisp, focused foreground, blurry background)...

An interesting dice shot, from Alex Evans

Sweet momma - crisp, with a great sense of direction, it looks very imposing, with a well performed close aperture effect, from my cousin

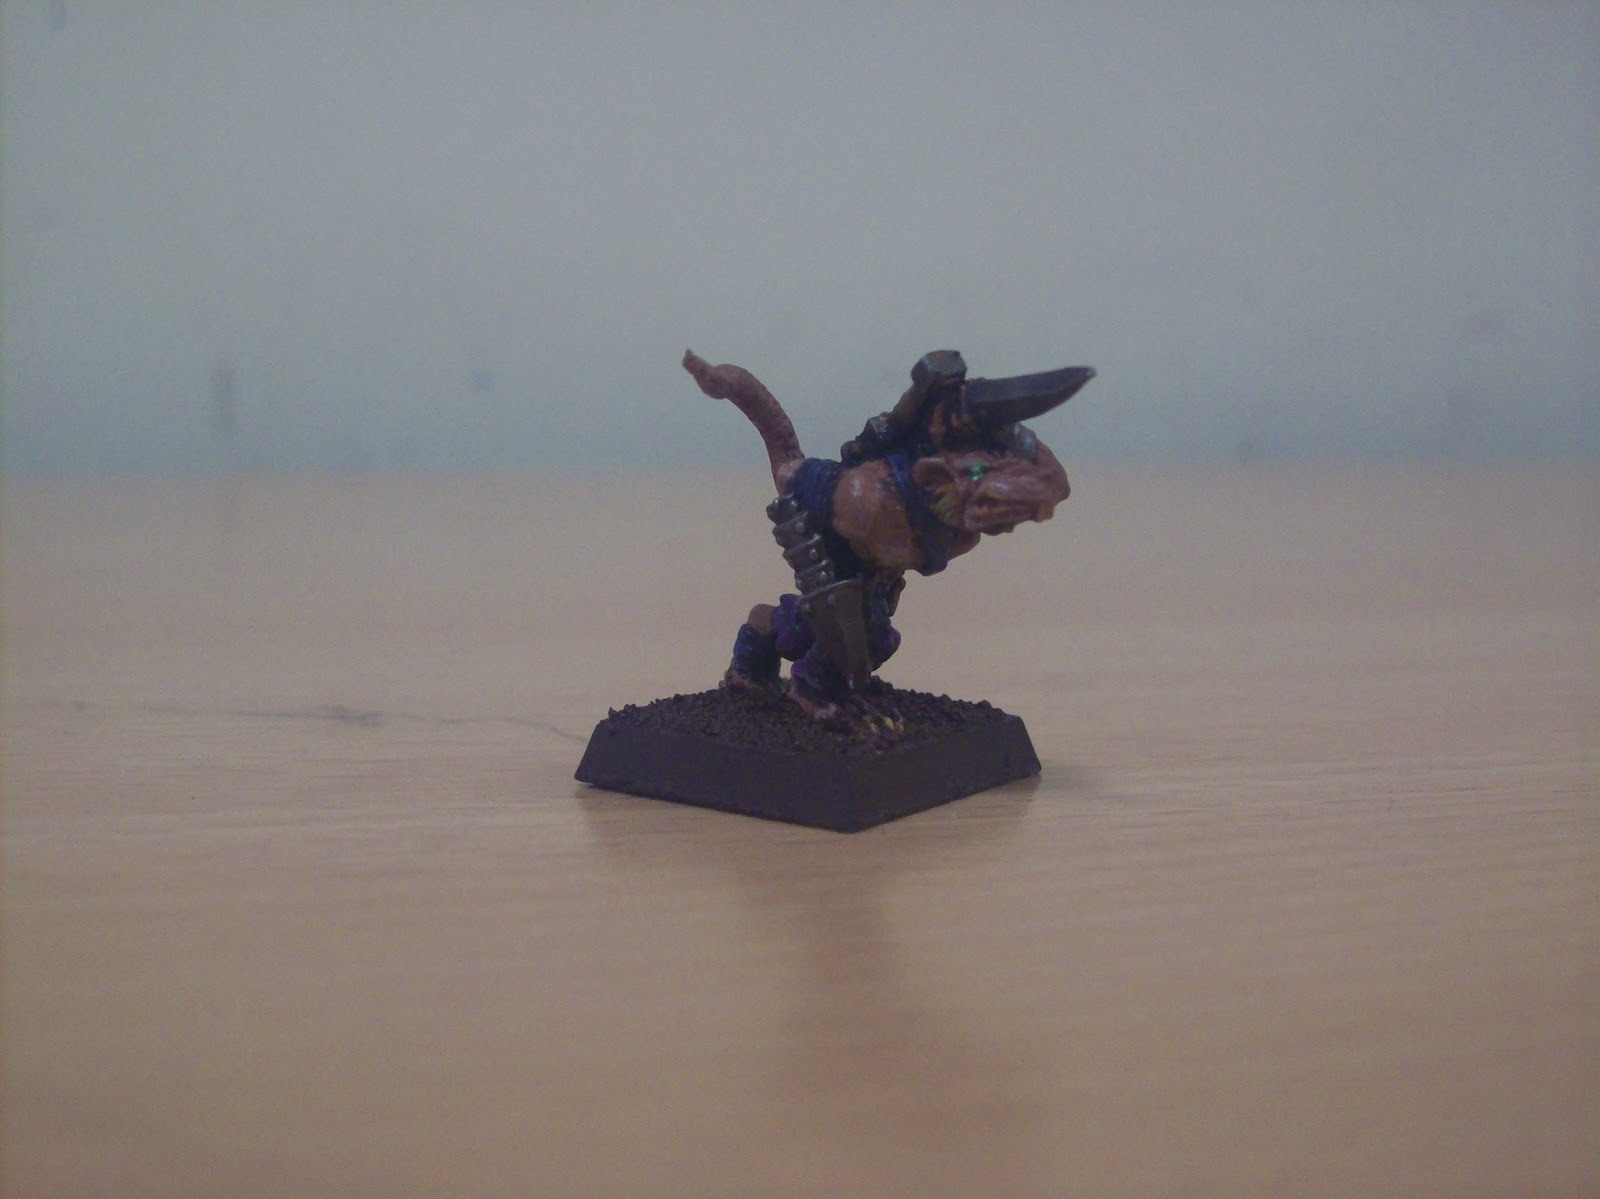
Just a practice shot on one of my gutter runners, taken by Alex

Simply a crisp-pic! Taken by me.

The same model, at a different angle - not taken by me.

Of similar effect as the warp lighting cannon pic, very interesting (off centered) - interesting background, but not too attention seeking, nice close aperture, taken by my cousin.

Similar, by cous

Close aperure narrative shot - by me

Similar, by me

Similar, by my cousin (or was it the first one like this that was by him??)


Saturday, 12 February 2011

The Power of the Wash!

     You've seen 'em, those gritty, pro looking minis. Even when the guy tells you he only slappped on a wash to a  'splodged-blodge' of a mini did it look great, you still aren't so convinced. But it was, here I've splodged on one coat of each colour, maybe two layers on some of the areas, but those don't really show up. Then I simply took the Citadel washes, and splashed them on my model as if it was water, give it go! it takes no experience or skill, just, not all my minis are painted this way (I can still paint, it's just hordes of skaven which I want to get done quickly).

Before


 After

Friday, 11 February 2011

Stormvermin Freehand Banner

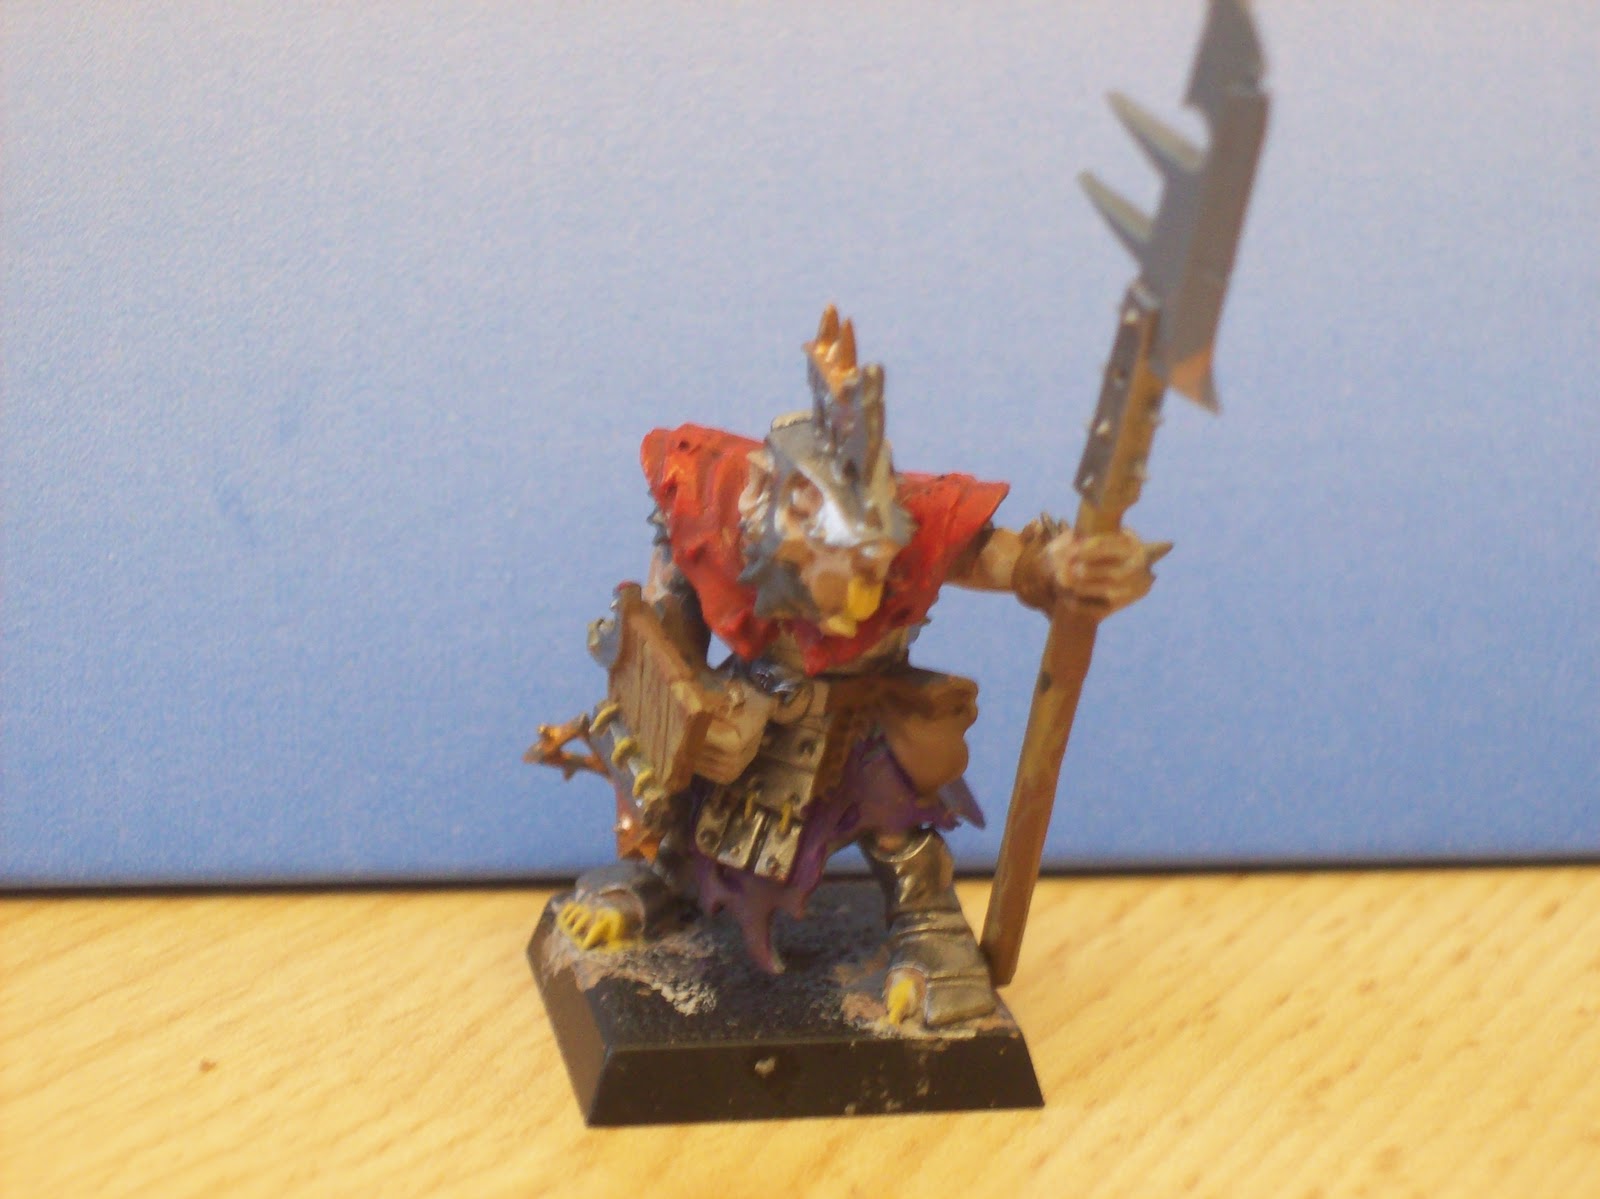
    My Stormvermin are in progress, and here I have my free hand banner, but the other side is not complete. Undercoated with Dheneb Stone, highlight with Tamiya White - don't get it, too runny!

Wednesday, 9 February 2011

Golden Demon Bronze Skaven Clanrat

      So I claim to have a Golden Demon Bronze trophy, well, the first feature of my blog will be that very miniature. Here it is...

And here is the GW link:

http://www.games-workshop.com/gws/content/article.jsp?pageMode=multi&categoryId=&pIndex=2&aId=13000009a&start=3

So check it out.

It was basically painted with 'many-layered' layering. It may appear to have blends, but these are just where there are so many layers that it appears to be blended. The metal was painted by a metallic orange-purple layered, with two washes, and then a 'rust scrape' of mithril silver. It suprisingly to a considerably short time to paint, around 6 hours, unlike my previous failed GD entry (more on that to come), which took around 10 hours, partially due to painstaking trial and error blending, which I clearly never continued in my next run!

If you want any tips, or have any questions, then the floor is open...